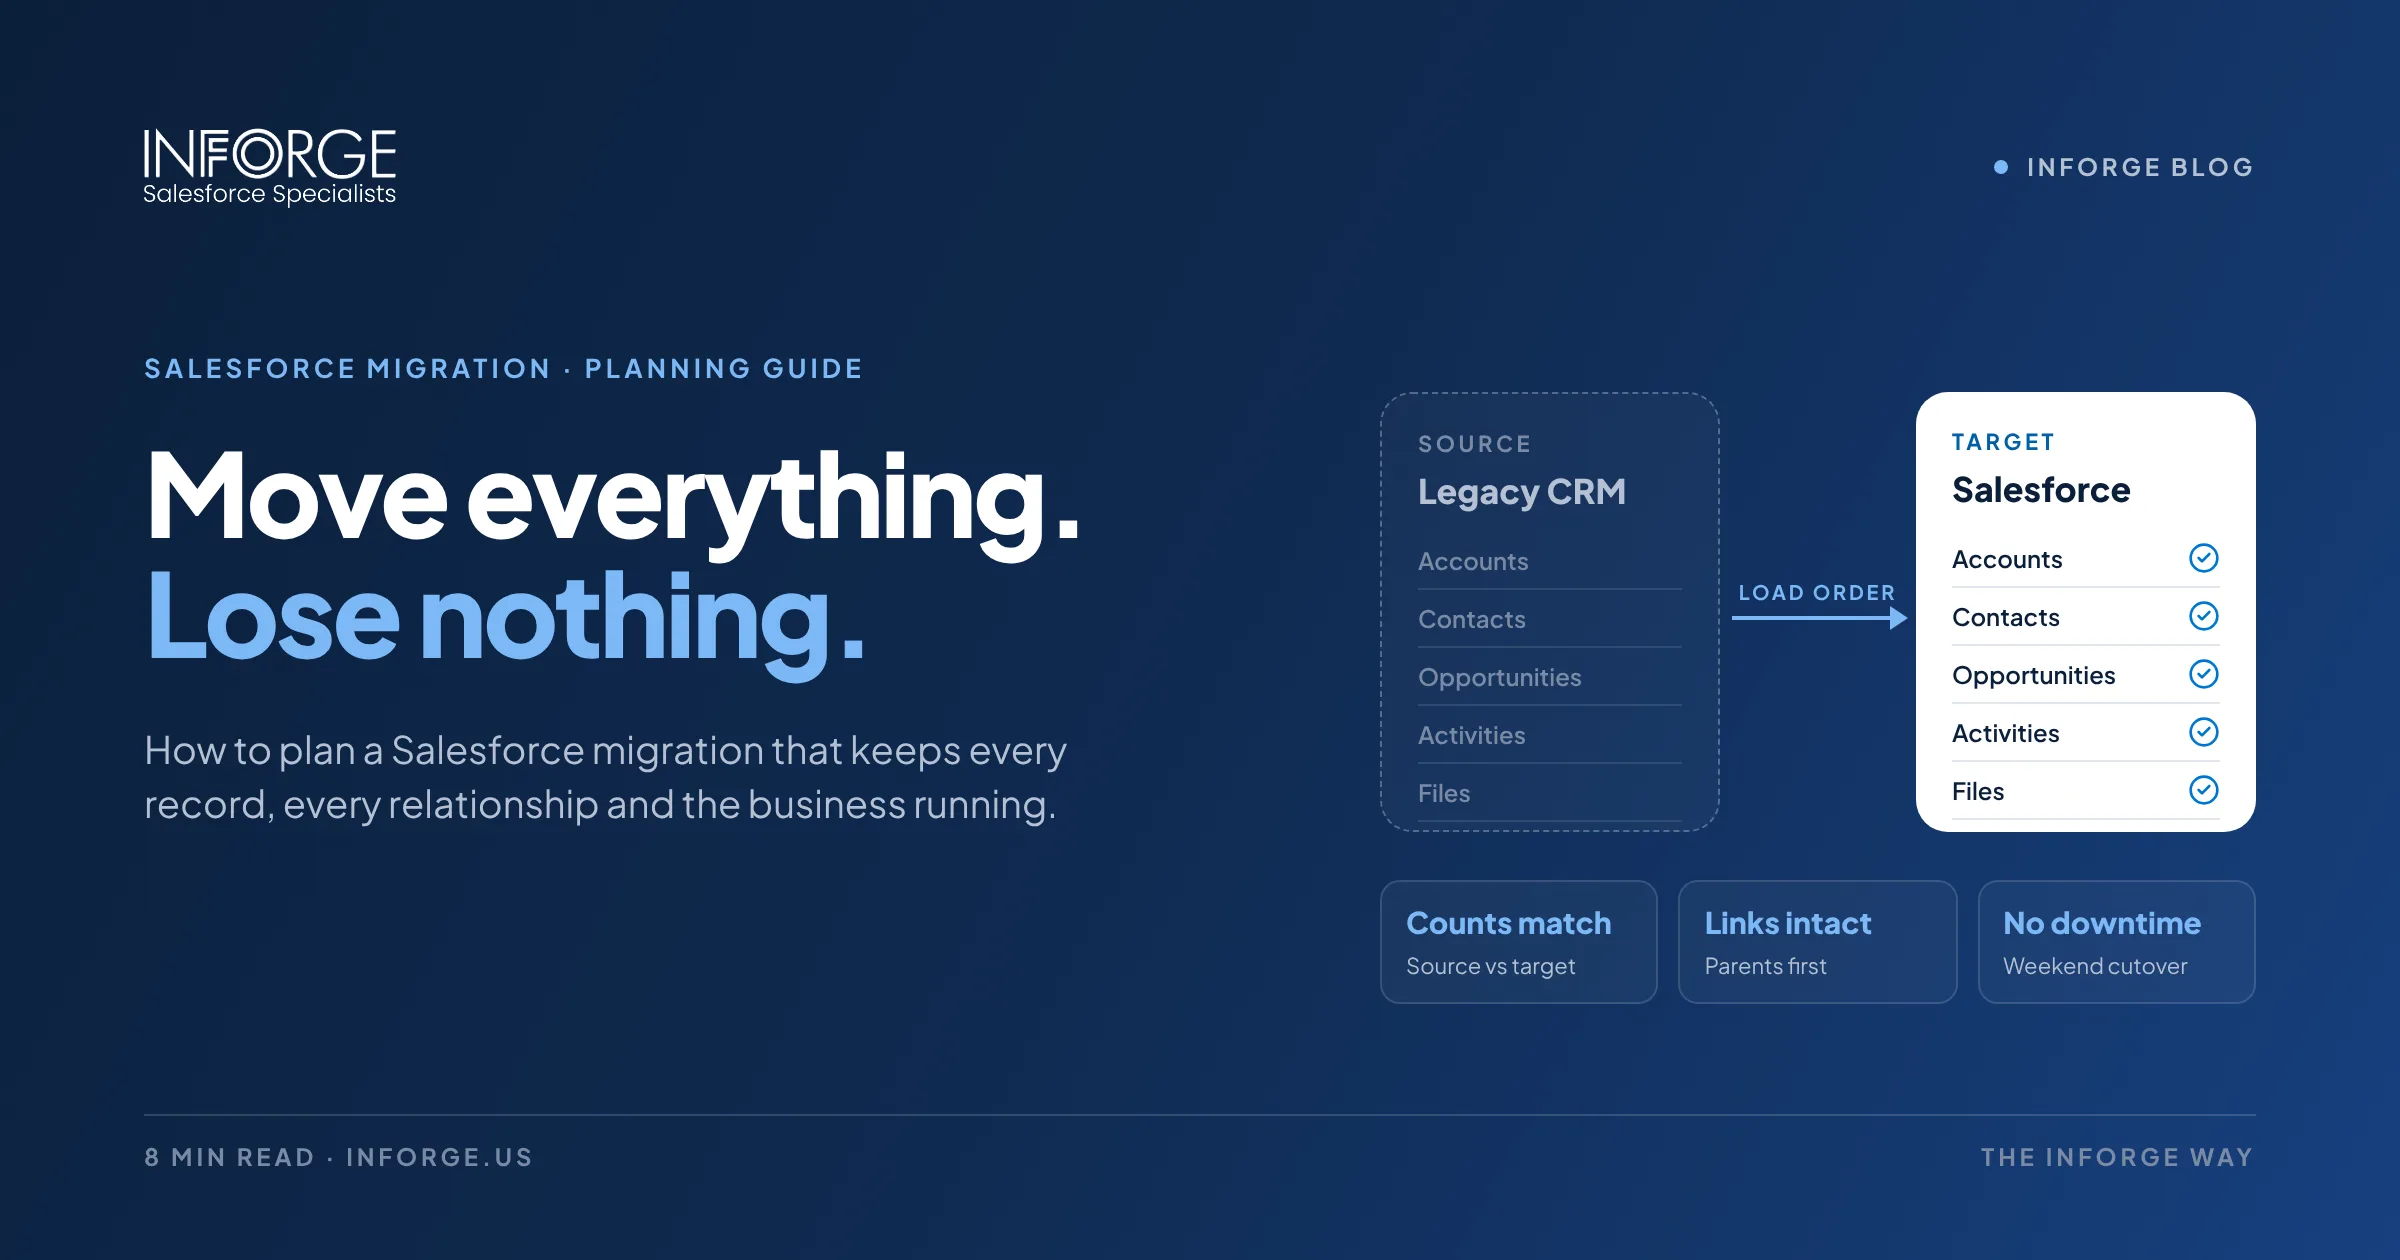
How to Plan a Salesforce Migration Without Losing Data or Downtime
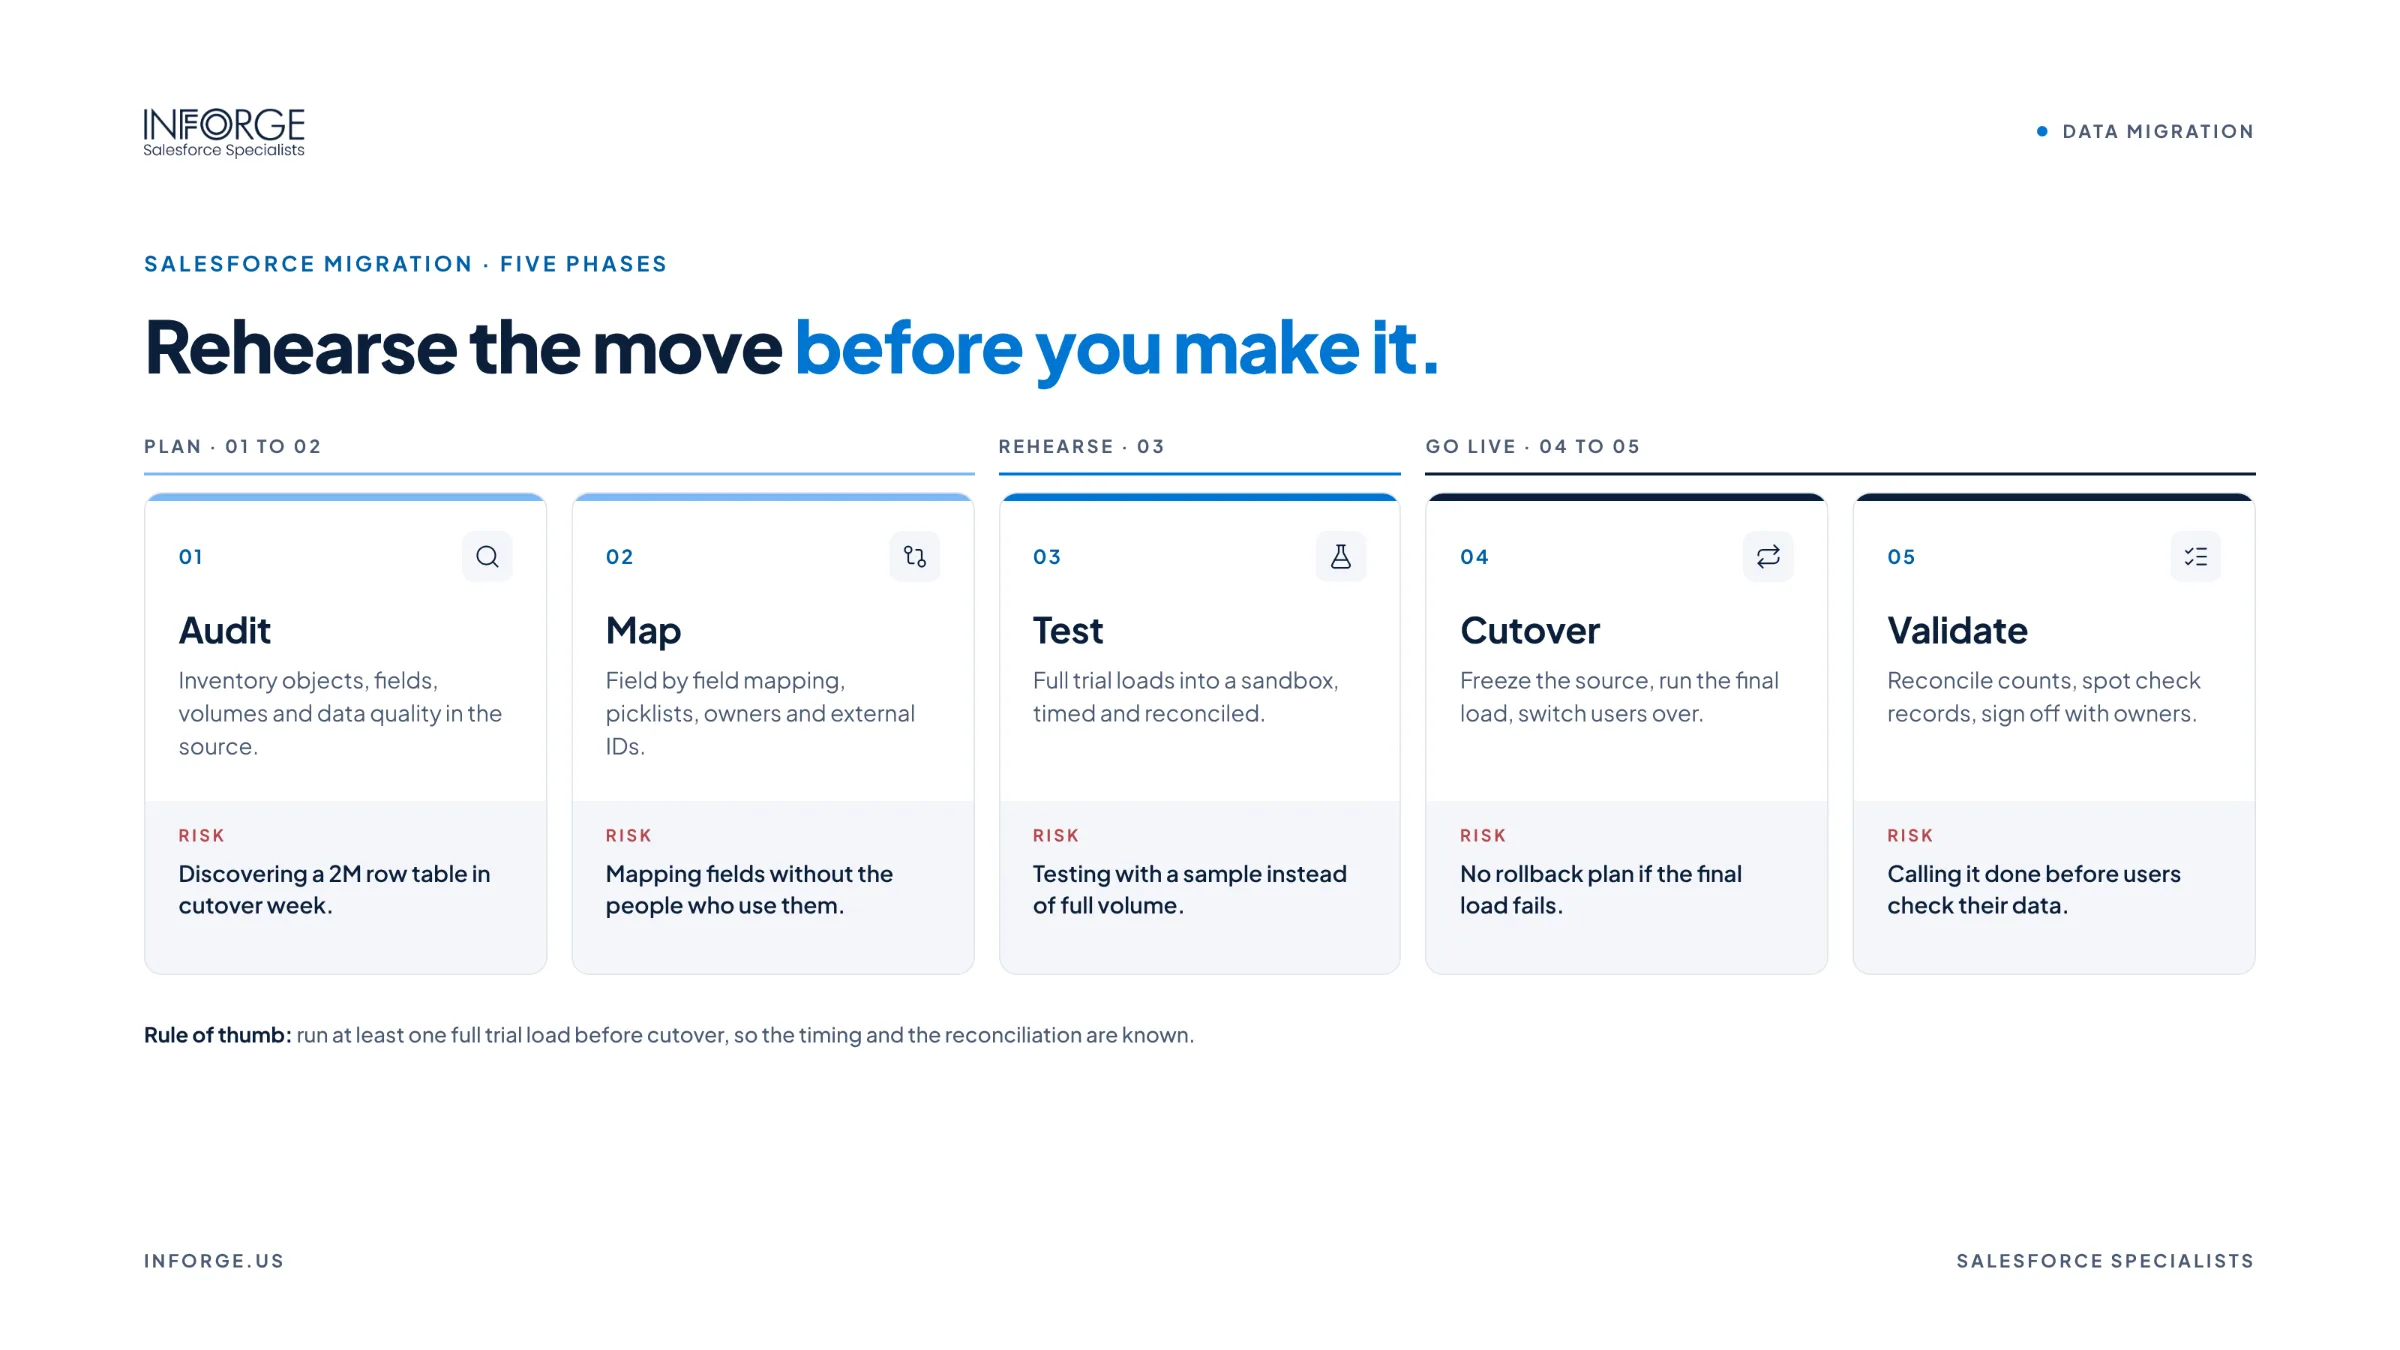
Plan it in phases, test it more than once, and move the business, not just the data. Salesforce migrations go wrong when teams treat them as a one-time data export and import. They go right when the team audits and cleans data first, maps every field and relationship, rehearses the migration in a sandbox, plans a cutover window around how the business actually works, and validates everything before users log in. Done that way, data loss and downtime are avoidable.
Quick Answer: To migrate to Salesforce without losing data or downtime, start with a data audit and cleanup, define scope and what stays behind, map fields, objects, and relationships, build and test migration scripts in a sandbox, run at least one full rehearsal, freeze changes in the old system during a planned cutover window, migrate in dependency order, validate record counts and relationships, and keep the old system available in read-only mode for reference. Pair the technical plan with user training and a clear go-live support plan.
Key Takeaways:
Most migration problems come from skipped preparation: dirty data, incomplete field mapping, and no rehearsal.
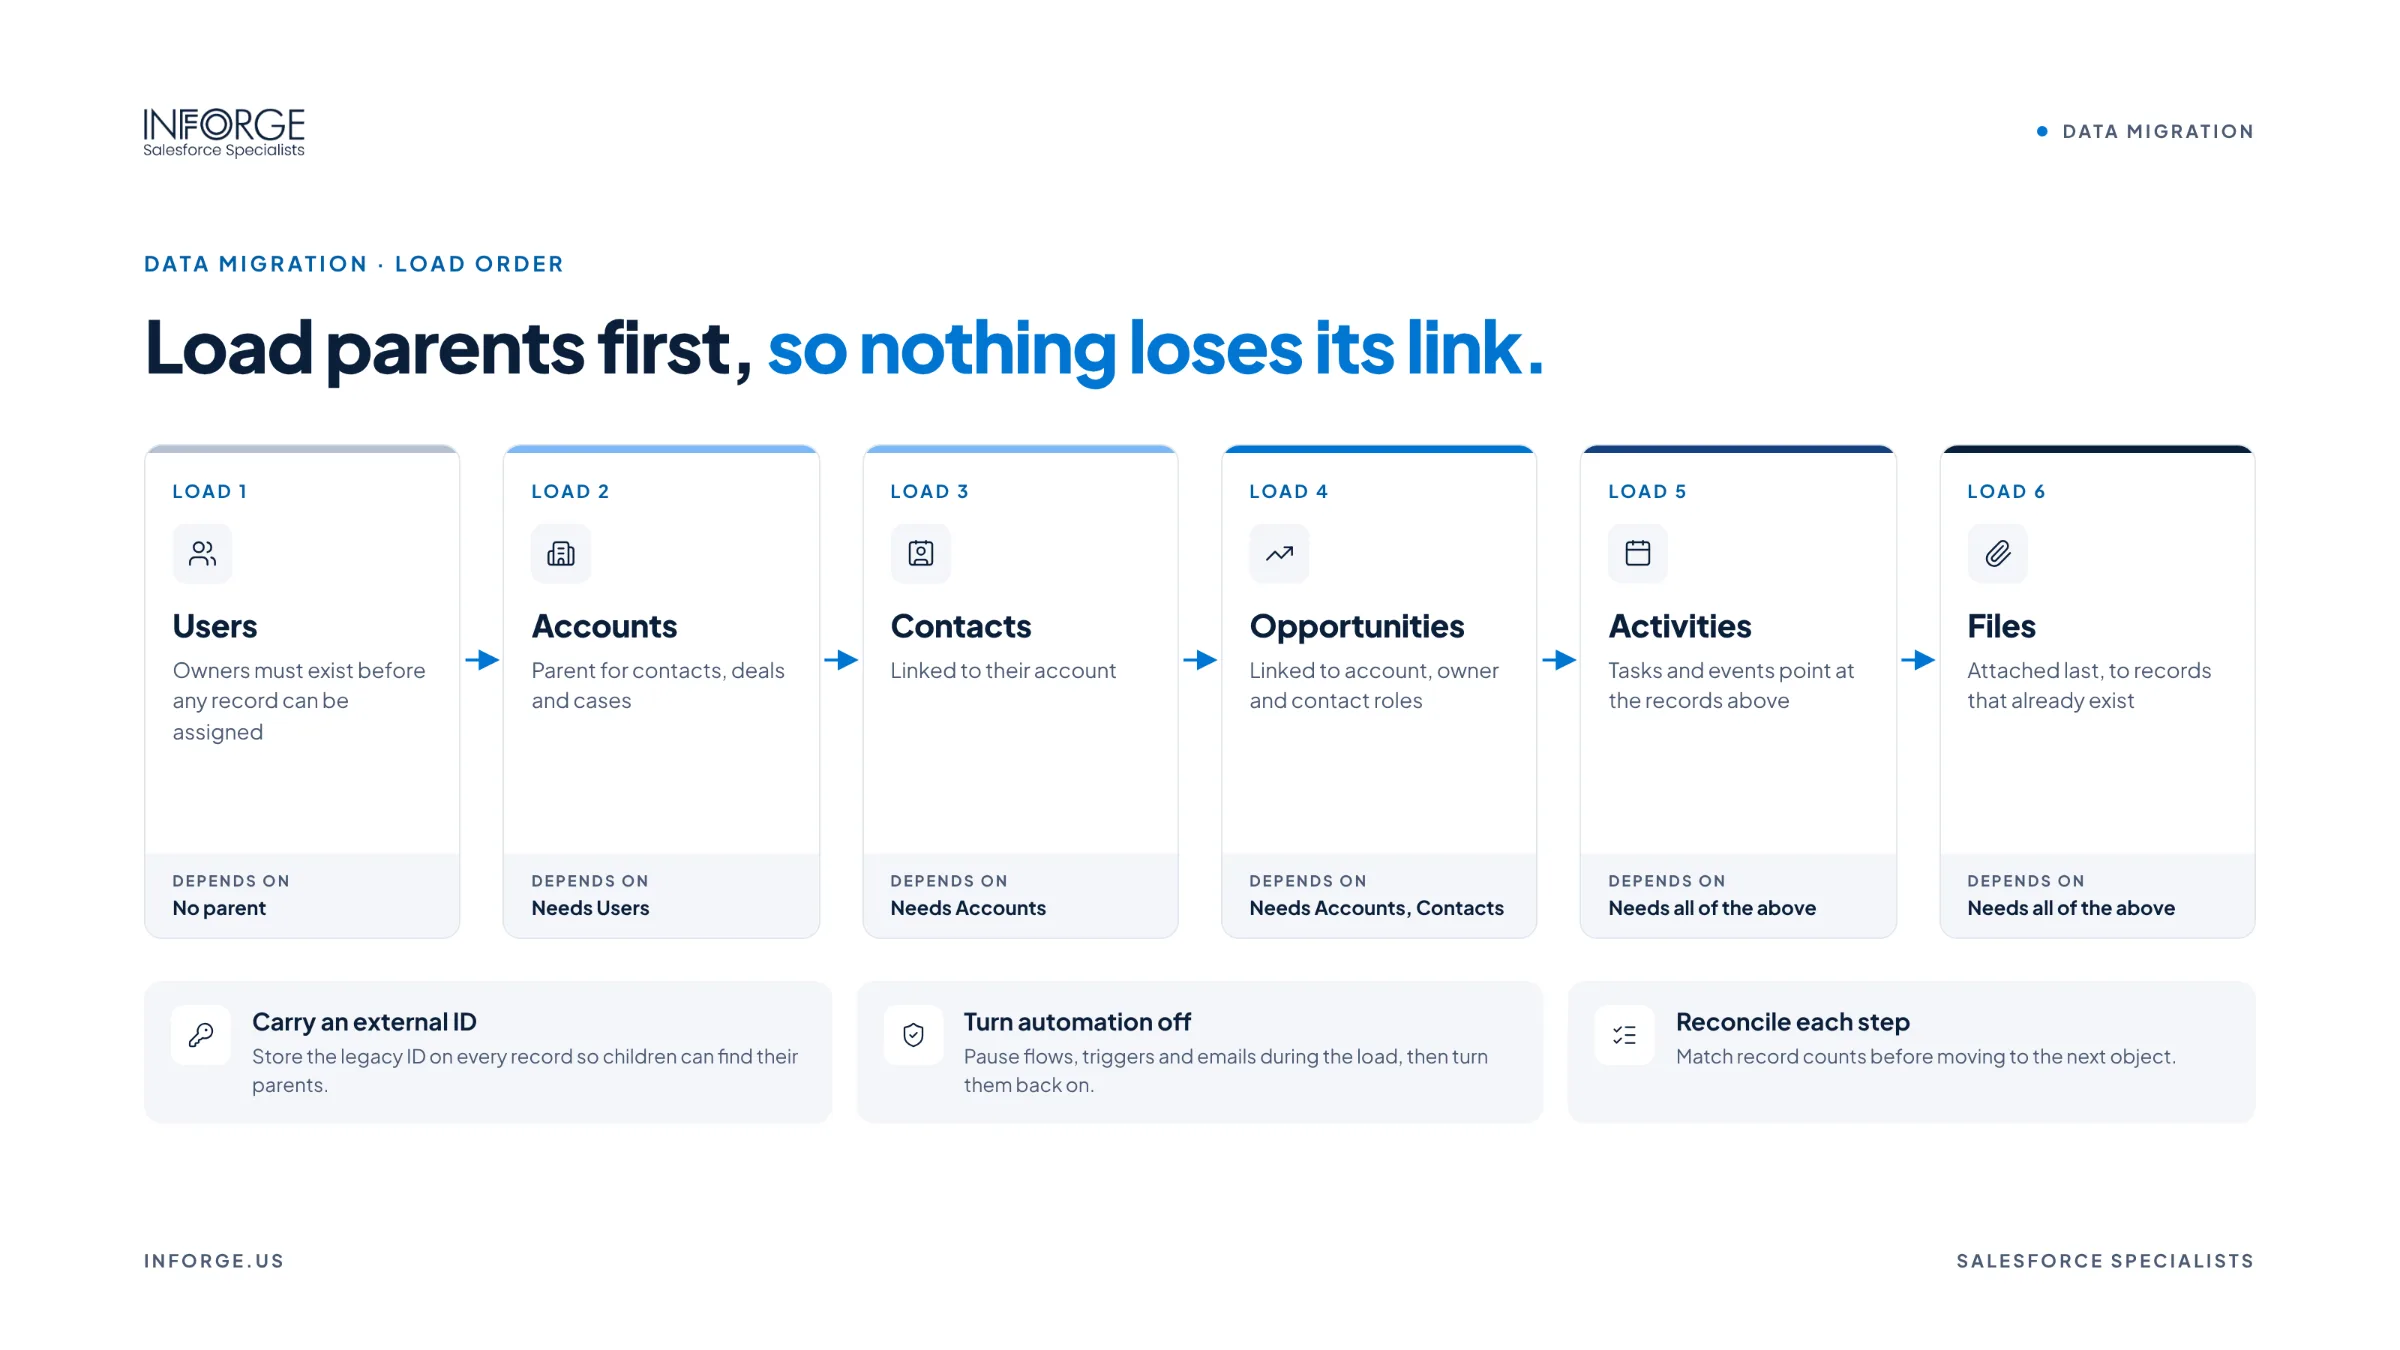
Migrate data in dependency order (for example, Accounts before Contacts, Contacts before Opportunities) to preserve relationships.
Always test the full migration in a Salesforce sandbox before touching production.
A planned cutover window with a change freeze in the old system prevents data from getting out of sync.
Validation, user training, and hypercare support after go-live are what keep a migration from turning into an adoption problem.
Why Salesforce Migrations Go Wrong
Whether you're moving from HubSpot, Dynamics, Zoho, a legacy CRM, spreadsheets, or consolidating multiple Salesforce orgs, the risks are the same.
Data loss. Records don't make it over, attachments get left behind, or history is dropped because nobody mapped it.
Broken relationships. Contacts end up disconnected from their accounts, or opportunities lose their owners.
Duplicate and dirty data. Problems in the old system get copied straight into the new one.
Downtime. Teams can't sell or serve customers while the cutover drags on.
Low adoption. Users log in to a system that doesn't match how they work, and go back to spreadsheets.
Almost every one of these traces back to planning. The technology to move data into Salesforce is mature. The hard part is knowing exactly what to move, how it should look on the other side, and when to move it.
The bottleneck isn't the tools. It's the plan.
A Step-by-Step Salesforce Migration Plan
Step 1: Define scope and success criteria
Decide what's moving and what isn't. Not every record from the last 15 years needs to come over. Agree on which objects, record types, date ranges, attachments, and history are in scope, and what will be archived instead. Define what a successful migration looks like: record counts that match, relationships intact, key reports producing the same results.
Step 2: Audit and clean the source data
Before mapping anything, assess the data you have. Identify duplicates, incomplete records, inconsistent values, and fields nobody uses. Clean what you can in the source system, or plan to clean during transformation. Migrating dirty data just moves the problem to a more expensive platform.
Step 3: Design the target data model
Decide how data should be structured in Salesforce: standard objects, custom objects, record types, picklist values, and required fields. This is the moment to fix old design problems rather than replicate them. Involve the business teams who will actually use the system.
Step 4: Map every field and relationship
Create a detailed mapping document that shows each source field, its target field in Salesforce, any transformation rules, and how relationships between records will be preserved. Use external ID fields to store legacy record IDs so relationships can be rebuilt reliably and records can be traced back to the source.
Step 5: Choose your migration tools
Salesforce Data Loader handles large volumes and supports up to 5 million records per operation, according to Salesforce documentation. For larger or more complex migrations, ETL and integration tools like MuleSoft or third-party migration platforms add transformation, scheduling, and error handling. Choose tools based on volume, complexity, and whether you'll need ongoing integration after go-live.
Step 6: Test in a sandbox, then rehearse
Run the migration in a sandbox first. A Full sandbox mirrors production most closely and is ideal for a final rehearsal. Test in stages: a small sample, then a full load. Fix errors, update the mapping, and run it again. A full rehearsal tells you exactly how long the real migration will take, which is critical for planning the cutover window.
Step 7: Plan the cutover
Pick a cutover window that fits the business, often a weekend or a low-activity period. Communicate a change freeze in the old system so new records don't get created mid-migration. For very large migrations, consider moving historical data ahead of time and only migrating recent changes during cutover, which shortens the window dramatically.
Step 8: Migrate in dependency order
Load parent records before child records so relationships stay intact. A typical order is users, then accounts, then contacts, then opportunities and cases, then activities, files, and history. Temporarily disable automation like workflows, triggers, and validation rules that could fire unexpectedly or block loads, then re-enable them after the load.
Step 9: Validate everything
Compare record counts between source and target for every object. Spot check records across teams. Confirm relationships, ownership, and key reports. Have business users validate the records they know best before declaring the migration complete.
Step 10: Go live with support
Keep the old system available in read-only mode for a defined period so users can reference history. Provide role-specific training before go-live, and plan a hypercare period with dedicated support to resolve issues quickly.
How to Avoid Downtime
Zero downtime is realistic for most migrations with the right plan:
Rehearse to know your timing. A full rehearsal turns the cutover window from a guess into a schedule.
Use a phased or delta approach. Move historical data in advance, then migrate only recent changes at cutover.
Schedule around the business. Avoid month-end, quarter-end, or peak service periods.
Have a rollback plan. Know what triggers a rollback and how you'll execute it, even if you never need it.
Communicate early and often. Users should know exactly when the freeze starts, when Salesforce goes live, and where to get help.
At Inforge, we've found that the Salesforce migrations that go smoothly aren't the ones with the fanciest tools. They're the ones that clean the data first, map every relationship, rehearse until the timing is predictable, and treat go-live support as part of the project.
Summary
A Salesforce migration without data loss or downtime is achievable when it's planned in phases. Define scope, audit and clean data, design the target model, map every field and relationship, test and rehearse in a sandbox, plan a cutover window with a change freeze, migrate in dependency order, validate thoroughly, and support users through go-live. Preparation is what separates a smooth migration from a disruptive one.
Inforge plans and executes Salesforce migrations for US companies with nearshore Salesforce consultants, architects, and developers working in your time zone.
Frequently Asked Questions
Q: How long does a Salesforce migration take?
A: It depends on data volume, number of source systems, integrations, and data quality. Small migrations can take a few weeks, while mid-market migrations with multiple systems and custom objects often take two to four months including planning, testing, and go-live support.
Q: How do you avoid losing data in a Salesforce migration?
A: Define scope clearly, map every field and relationship, store legacy IDs in external ID fields, test in a sandbox, and validate record counts and relationships after loading. Keep the source system available in read-only mode until validation is complete.
Q: What tools are used for Salesforce data migration?
A: Common options include Salesforce Data Loader, which supports up to 5 million records per operation, Data Import Wizard for smaller loads, and ETL or integration platforms like MuleSoft for complex or high-volume migrations.
Q: Can we migrate to Salesforce without downtime?
A: Yes, in most cases. Rehearsing the migration, moving historical data ahead of time, migrating only recent changes during cutover, and scheduling around business cycles can keep disruption to a minimum.
Q: Should we clean our data before or after migrating?
A: Before, whenever possible. Cleaning data before or during migration prevents duplicates and errors from being copied into Salesforce and gives users a better first experience with the new system.